However, I did want to get these up. I am not finished with them yet but wanted to get what I have done and if I don't get back to it today, I can always update with the finished pics later.
I saw a post last week about Cake Pops. They intrigued me. With having to make a cake at every school event, I am trying to be creative instead of sending in the same thing every time. So I thought, wth, I'll give these a shot. They are easy to make but take a lot of time and steps to do it.
If you're familiar with GF cake mixes, you know that to make a normal size cake you have to double the recipe. I never understood why that is. Why not just make a recipe for what everyone considers "normal". Oh well, either way, the chocolate cake recipe I used today is been the best tasting recipe I've made. I know everyone says that their non-gf friend/family/spouse says it tastes like normal. I must be doing something wrong because when I made them, no one I know thinks so. THIS recipe, however, to me, DOES taste like normal and my family and school kids also think so. Tho I imagine the 1st graders don't count, as all sweets are awesome lol
I don't have original recipes, and I don't have the authors permission so I hope that by posting where I got it from, that will suffice.
From the cookbook: Special Diets for Special Kids - Two by Lisa Lewis
Lisa Ackerman's Chocolate Cake
I doubled the recipe to make a 9x13 cake, this is the doubled recipe:
- 2 cups white rice flour
- 1 cup sorghum flour
- 2 cups sugar
- 1 cup cocoa powder
- 1 teaspoon salt
- 2 teaspoons baking soda
- 2 teaspoons xanthan gum
- 1cup oil
- 1 cup milk substitute (I used Almond milk)
- 1 cup hot water
- 4 teaspoons vanilla
Mix together dry and stir to combine. then add liquid ingredients and stir until well mixed.
Pour better into greased and floured 9x13-inch cake pan and bank approximately 40 minutes. Longer if needed to pass clean toothpick test. (I forgot to write down how long it took before it was done but I originally set the timer for 35 min, then again for 7 min, I think.)
When the cake was done, I let it cool for 10 minutes then removed from pan and let it cool completely.
Once cooled, break cake apart, I found it easiest to do with my hands, breaking apart until it was a big crumbly mess.
(oops, I forgot to take a pic before I added the icing)

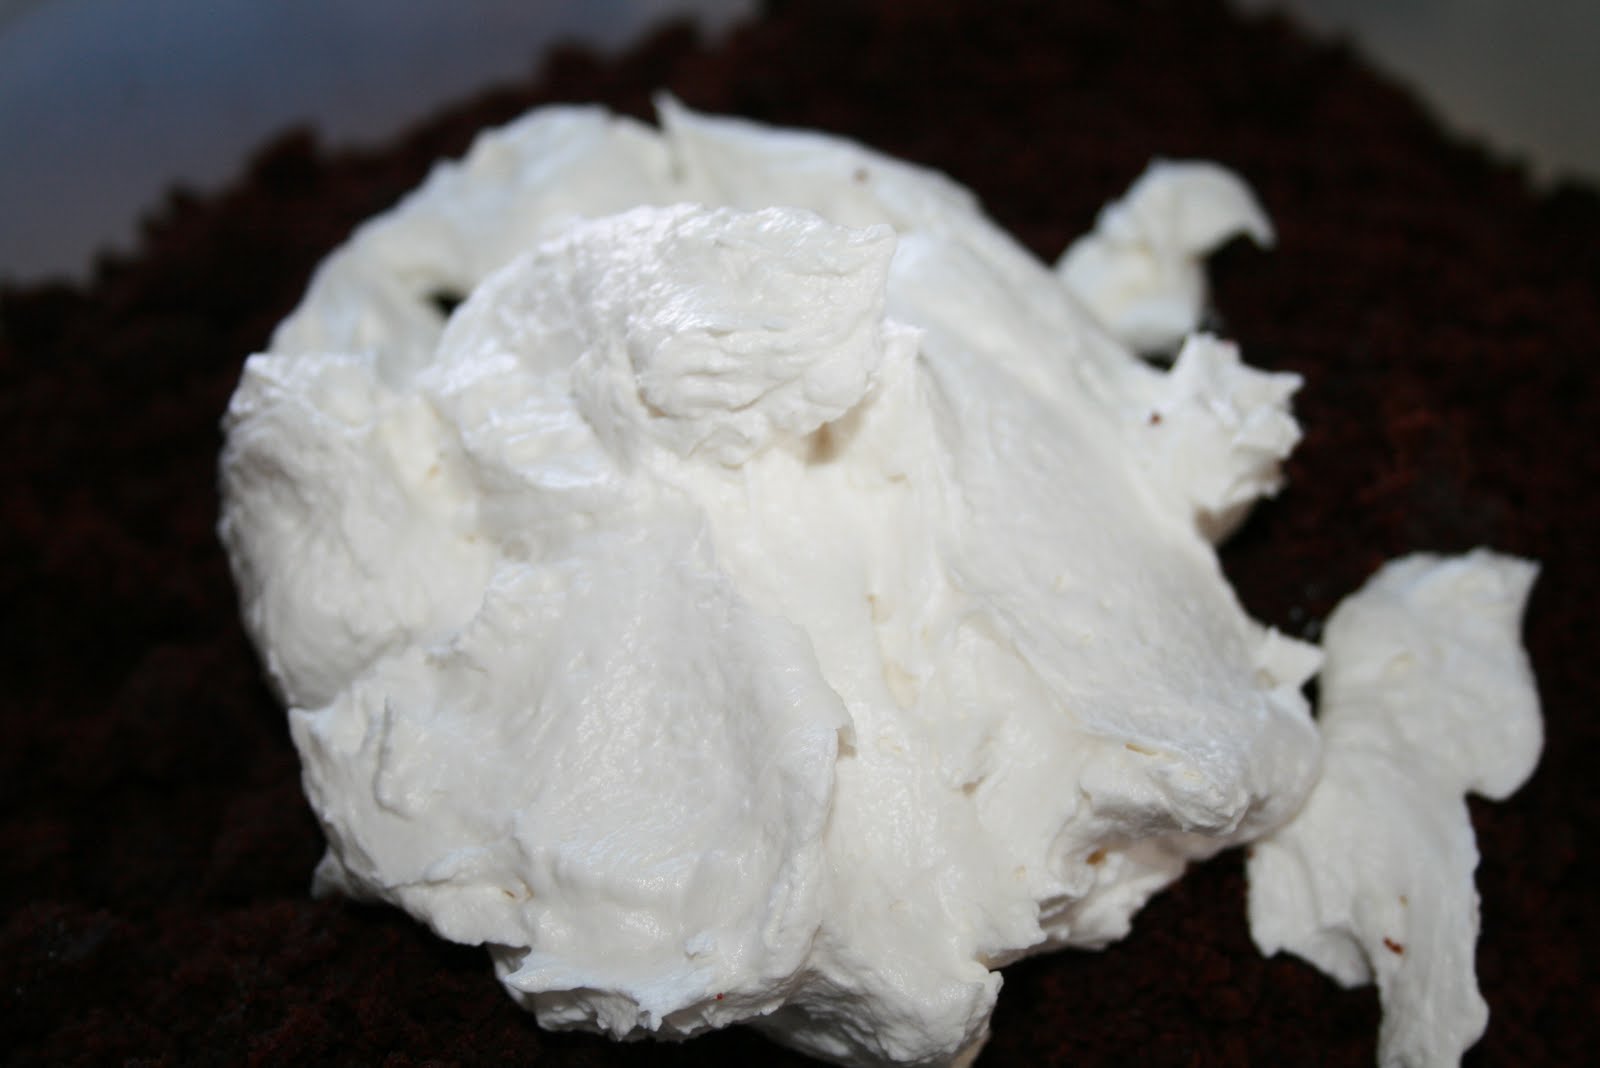
I then made the following icing from The Allergen-Free Baker's Handbook by Cybele Pascal
- 1 cup dairy-free, soy-free vegetable shortening (I used Palm Shortening)
- pinch of salt
- 3 cups confectioners’ sugar
- 1/4 cup rice milk (I used Almond Milk)
- 1/2 teaspoon pure vanilla extract
2. Add the sugar, milk and vanilla. Beat until smooth and fluffy, about 5 minutes.
From here, add the icing into the cake crumbs and mix until the icing is all mixed in.


Then roll into small balls and freeze for about an hour. This yielded 54 balls. I should have made some of them slightly smaller, I think.

Now here is where I ran into a problem. The coach called and they are having a last minute T-ball practice in 30 min, so I had to take them out of the freezer, because they can't be frozen, and now it's too late to decorate them tonight. So I'm gonna hope that they stay ok and I can finish them in time in the morning. I will update this after they are finished.
------------------------------------------------------------------------------------
May 24 - Ok, so I decided to put the cake balls into the fridge last night to stay cold. They were fine in there overnight. If anything, I should have put them in the freezer again before finishing them this morning, as they needed to be colder but I was very short on time.

Be sure the bowl is deep enough that you can cover the balls. I left some chips unmelted completely and used the melted chocolate to melt the unmelted chips as I didn't want it burnt. (huh???? lol)

The Cake Balls have a flat spot on the bottom from sitting and resting in the pan,

To prepare the sticks, dip them in the chocolate, about 1/2"-1" (this picture shows a less amount that what was needed, I ended up redipping)


Next I added the sprinkles


I put plastic wrap over the foam so I could use it again. But you can clearly see they didn't stand upright.


No comments:
Post a Comment